While this isn't a new topic, its still one we see many customers struggle with. Wiring isn't for everyone, and that's the main reason we offer complete "PLUG AND PLAY" kits, but for those who want to do it themselves, this is how we did it!
First and foremost, get yourself some plugs. Here at Momentum Watts, we use Deutsch Connectors like the ones below. We have used others types of plugs and back in the day we used wire nuts (like nut jobs), but we highly recommend you use a decent method of connecting your wires The Deutsch plugs are definitely more expensive then others available on the market, but in our opinion - electrical wiring is not a place to skimp. We use a universal box like the one below:

You will also need some tools - a decent set of wire stripers to cut and strip the wires, then a crimp tool that is compatible with whatever style plug you go with, and a set of needle nose plyers for general usage.

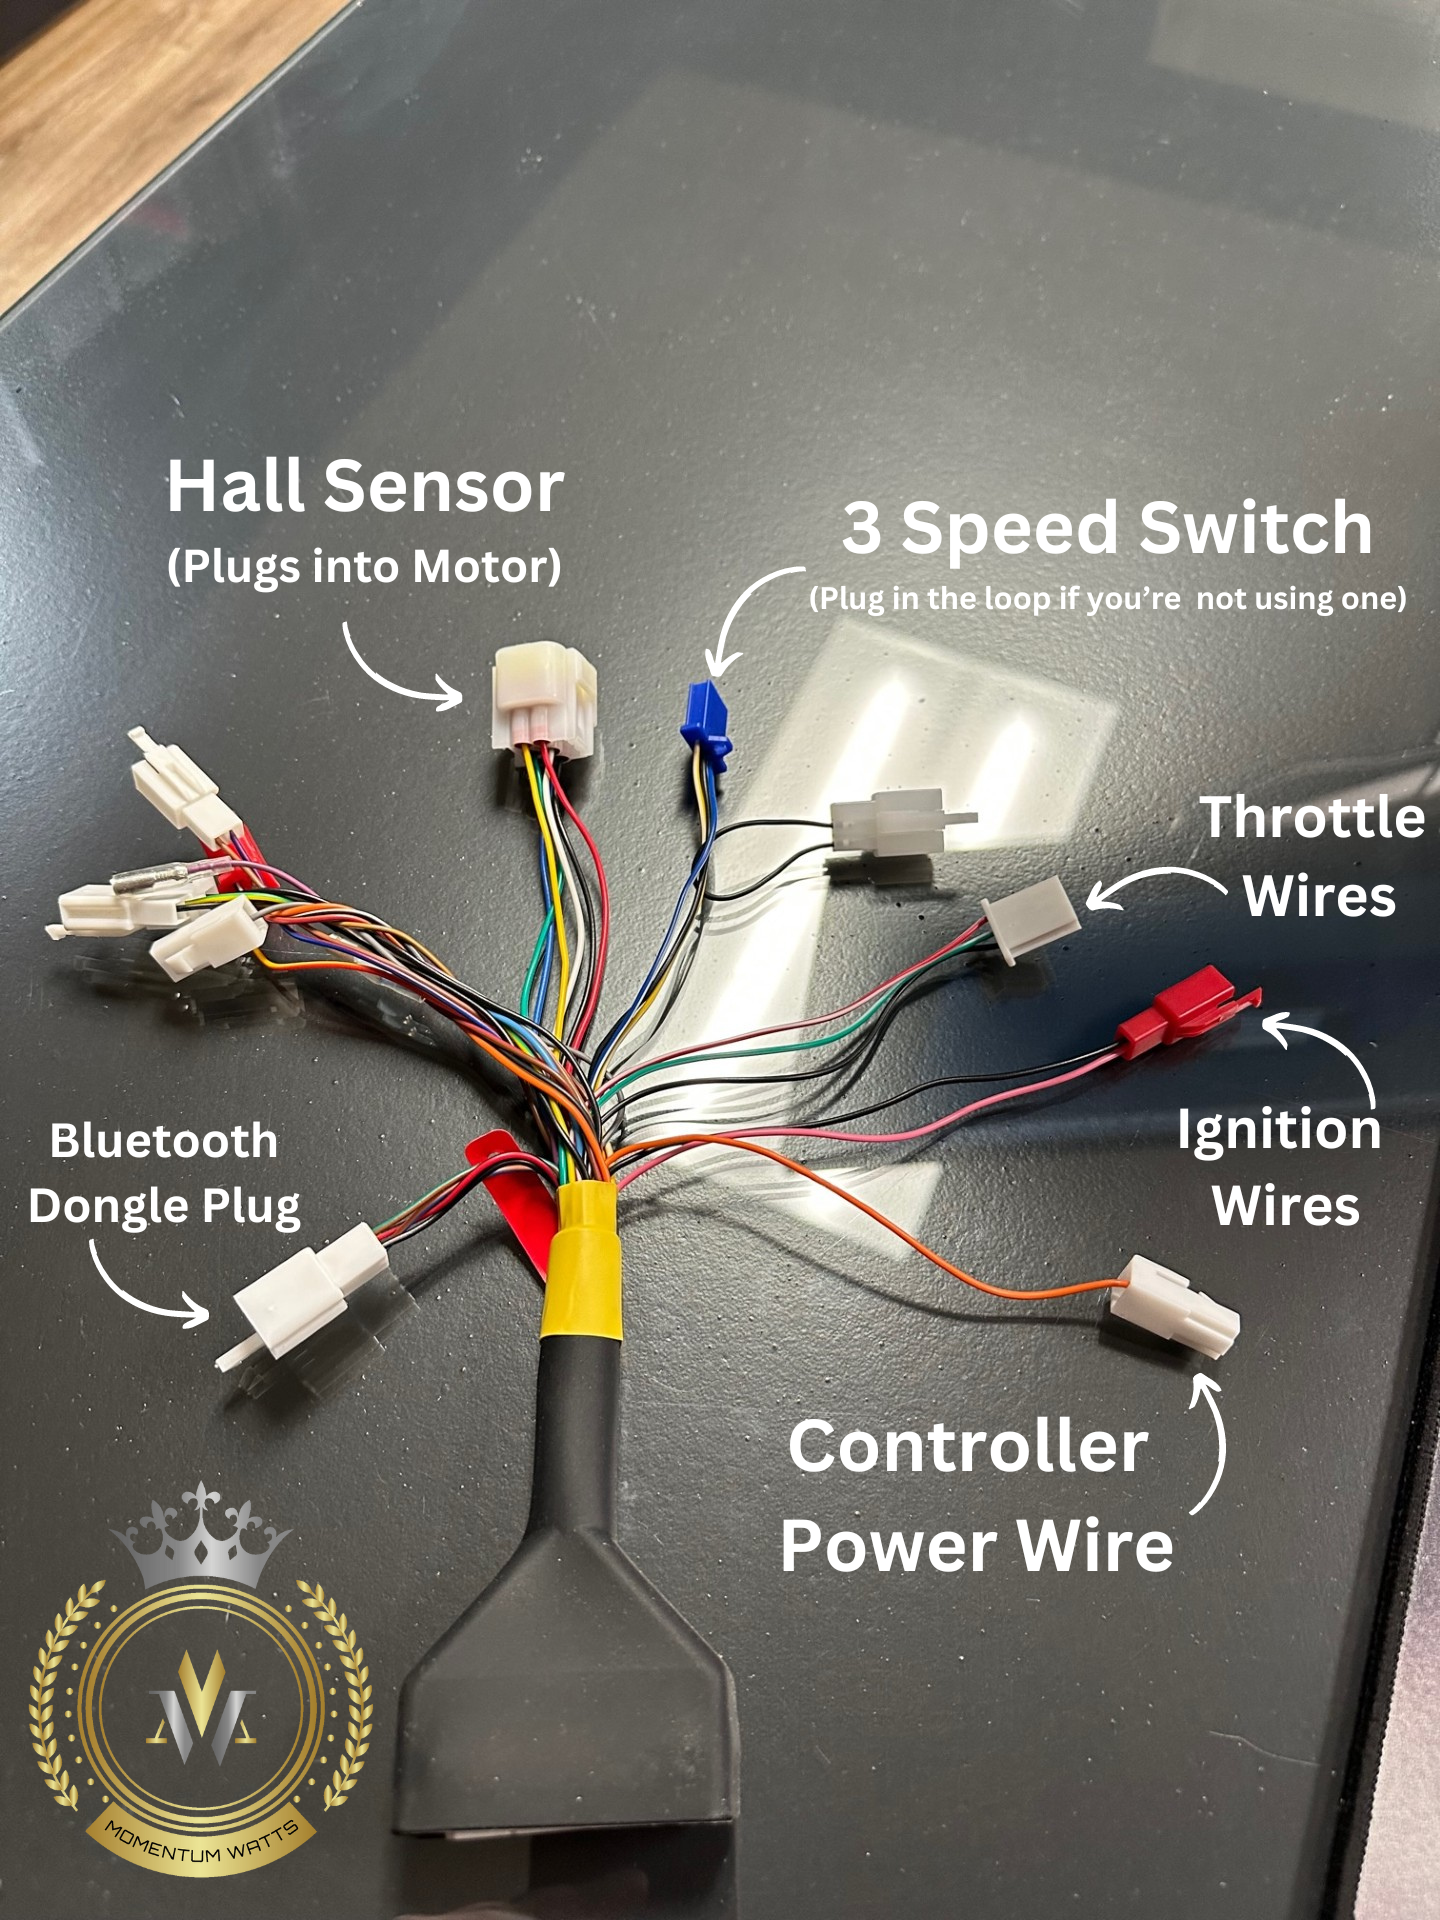
Once you have your plugs and tools, lets take a closer look at our wiring pigtail from our controller so we know what we are cutting and joining.

Going clock wise from the top:
Hall Sensor Plug: This goes directly into your motor. For our Sotion FW11 motor, this is plug and play, depending on what motor you are using, you may have to cut and change the plug.
3 Speed Switch: If you wanted to use a 3 speed switch to set 3 different power modes, you would tie that in here. I believe in "full send all the time" so if you plug in the LOOP on his wire harness, you will always been in full power mode.
Throttle Wires: Pretty self explanatory :) These green, black, and red wires are used to translate throttle position to the controller.
Ignition Wires: These wires are used in conjunction with the key to turn battery power on and off.
Controller Power Wire: This wire is used to supply power to the controller it can operate and will be tied in with the ignition wires above.
Bluetooth Dongle Plug: If your controller doesn't have the Bluetooth feature "built in" you will need to plug the Bluetooth dongle into this plug so that you can use your phone or PC to communicate with the controller.
Everything else: This bundle of wires has brake switches, reverse, etc. All items we are not using and are not required to get your bike running.
 ____________________________________________________________
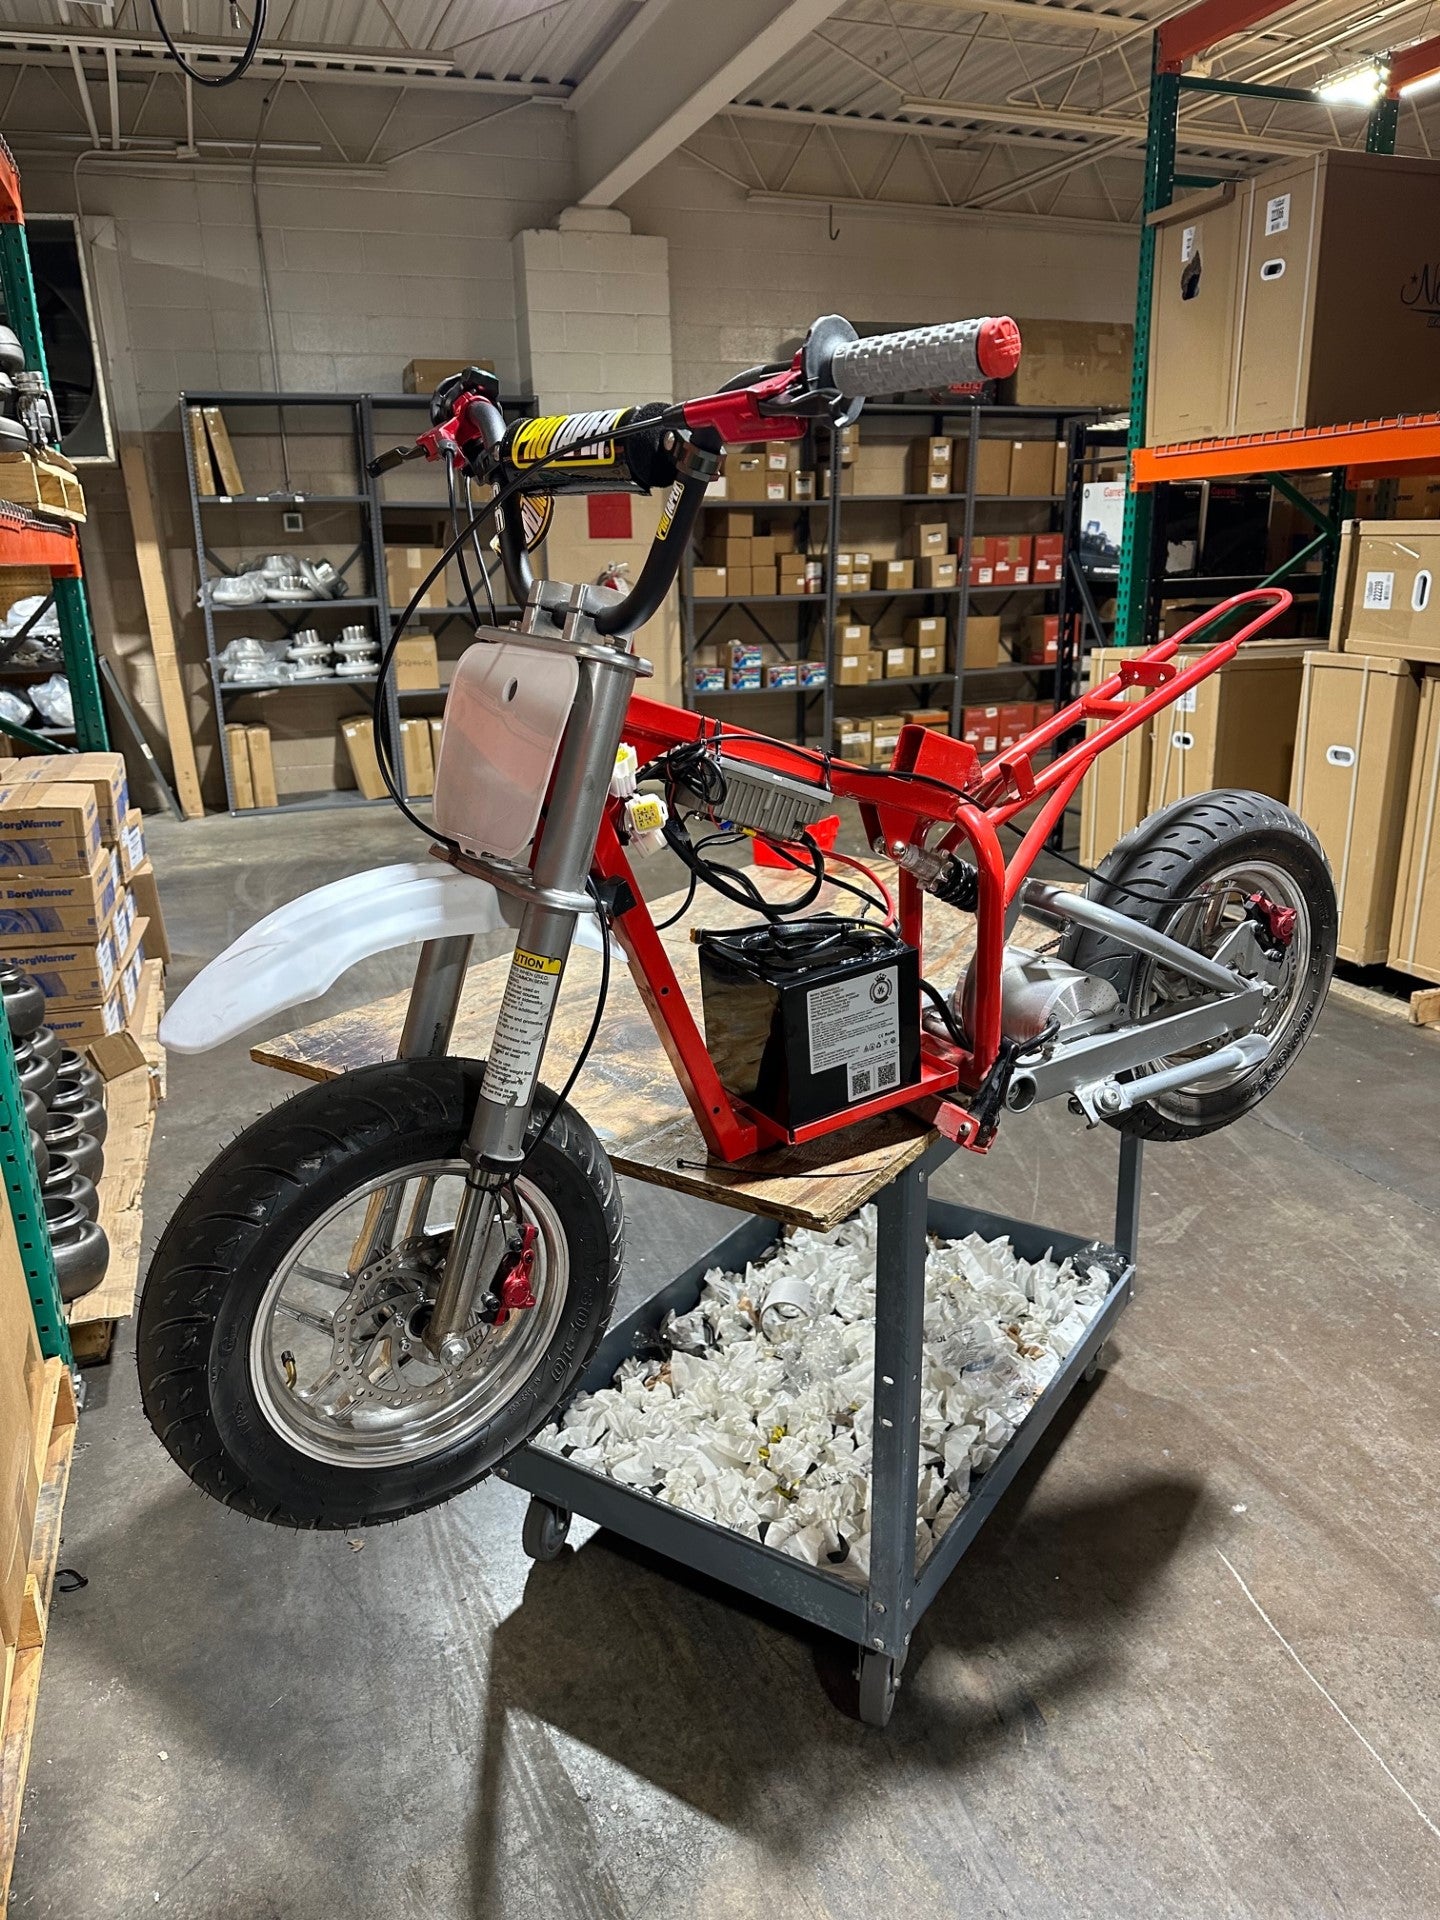
Your finished harness should look similar to ours below. This particular harness is using a surron style full throttle and volt meter/key combo.
Make sure to check out the table for the color combos that need to be connected. If your controller does not EXACTLY MATCH THESE COMBOS, please seek alternative assistance.


______________________________________________________________
After this, all that's left to do is screw your battery leads to the controller terminals (Black to Black, Red to Red) and then your phase wires (Blue to Blue, Green to Green, Yellow to Yellow).

___________________________________________________
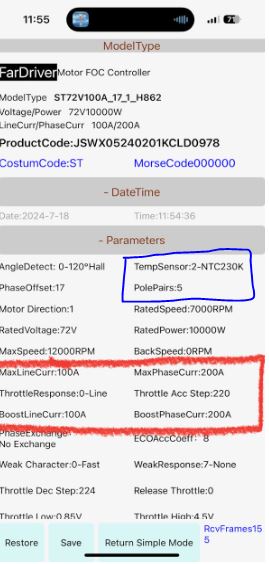
Stay tuned for our next blog article where we explore the FarDriver app: how to perform an auto tune, basic tuning changes, and show you how to monitor performance and diagnostics all from the palm of your hand.
****DISCLAIMER, Momentum Watts is not liable if you blow yourself up or damage your equipment. We are not engineers, nor electricians, nor mechanics. The statements and opinions provided are simply to be taken as entertainment value in how we have personally worked on our own bikes.
Working on electrical equipment is dangerous and should only be done under the supervision of trained professionals. If you are not confident in what you are doing, don't do it.


